How to Plan a Moonlit Landscape Photography Session
The moon is a patient collaborator. It rises on schedule, throws shadows across ridges, and turns familiar ground into something strange. But it won’t wait for you to guess. A moonlit landscape session rewards planning more than luck. Here is how to choose your night, set your camera, and come home with frames that feel like the place you stood in.
Start with the Phase, Not the Location
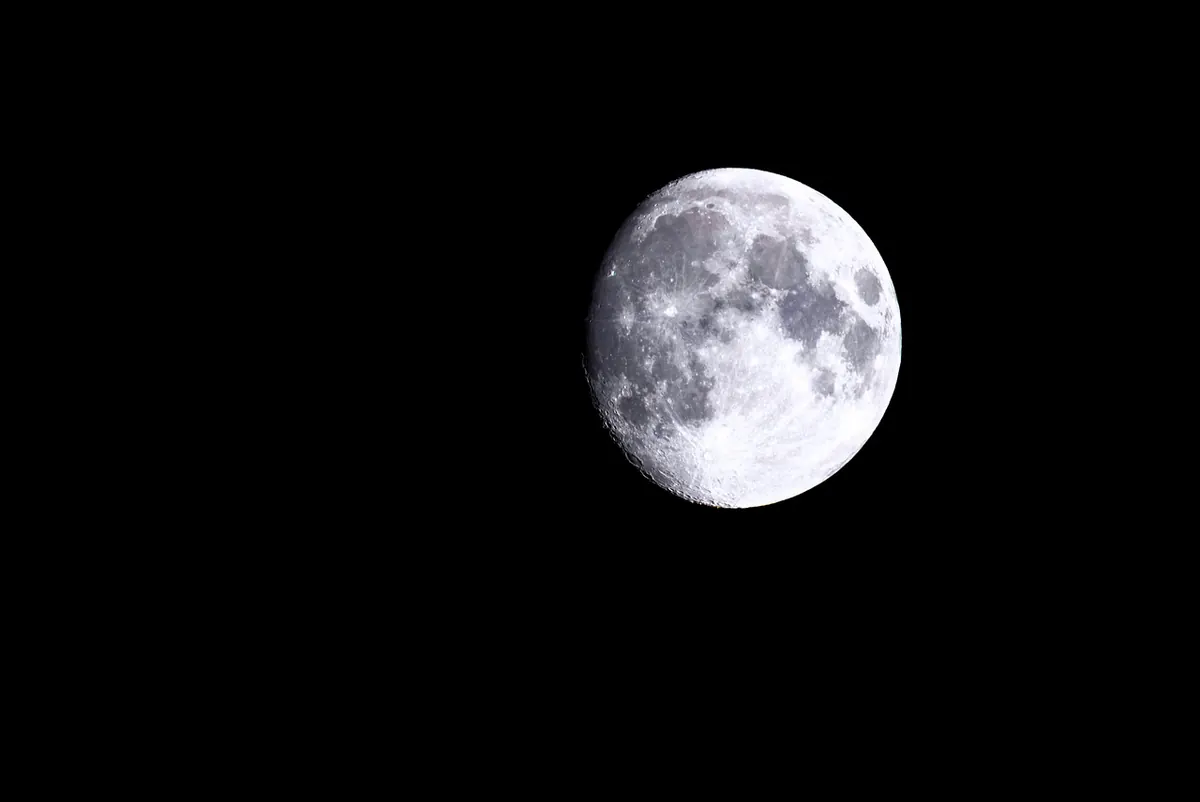
The phase of the moon decides how much light you get and what kind of shadows you can expect. A full moon is the classic choice. It floods the landscape with enough light to reveal detail, and it stays up all night. But that brightness can also flatten a scene. Shadows are short and the contrast is low. A quarter moon is often more interesting. Half the visible disk is lit, so the light comes from the side. That creates long shadows, texture, and depth. A crescent moon is dim. It won’t illuminate much of the land, but it can work as a bright accent in a twilight sky or alongside a starry background.
The phase also tells you when the moon will be in the sky. A waxing moon is up in the evening and sets after midnight. A waning moon rises after midnight and is up in the morning. If you want to shoot after sunset, plan around a waxing phase. If you are a dawn photographer, a waning moon is your friend. The phase changes the moon’s path, too. A winter full moon climbs high and gives cool, even light. A summer full moon stays low and casts long, warm shadows. Neither is better. They are different tools.
Time the Moonrise and the Twilight
Moonrise happens roughly fifty minutes later each day. That means the window when the moon is low and the sky still has color shifts quickly. Use a planning app such as PhotoPills or The Photographer’s Ephemeris to find the exact time and direction of moonrise and moonset. Then aim for the hour around one of those events. That is when the moon is near the horizon, the light is warm, and the sky is not yet black. You get a balance of ambient light and moonlight that is hard to fake.
If the moon rises after the sun sets, you will have a dark sky first. Then the moon appears and gradually adds light. If the moon is already up at sunset, you have a mix of golden hour and moonlight. Both can work. Pay attention to the moon’s altitude. A low moon gives long shadows and a warm color. A high moon gives cooler, more even light. In the northern hemisphere, the full moon is highest in winter and lowest in summer. That changes the mood of a scene more than many photographers expect.
Exposure: Start Slow, Then Adjust
Moonlight is far dimmer than daylight, so you will be working with long exposures. A useful starting point for a full moon on a landscape is ISO 400, aperture f/5.6, and a shutter speed of 15 seconds. From there, check your histogram. You want the bulk of the data in the middle, with highlights that are bright but not blown. If the moon itself is in the frame, it will be much brighter than the land. You can expose for the moon and let the landscape go dark, or expose for the land and let the moon clip. For a moonlit landscape, the moon is often out of frame or small, so expose for the land.
Use a sturdy tripod. Turn off image stabilization. Focus manually, using live view magnified on a distant light or on the moon itself. Use a remote release or the two-second timer. If you want stars as points, keep the shutter under about twenty seconds with a wide lens. If you want star trails, go much longer. Shoot RAW. White balance is a matter of taste. Daylight is technically accurate because moonlight is reflected sunlight, but many photographers prefer a cooler setting for a night mood. Try 3800K to 4500K. Bracket exposures if you are unsure. You can always blend later.
Compose with Shadows and Reflections
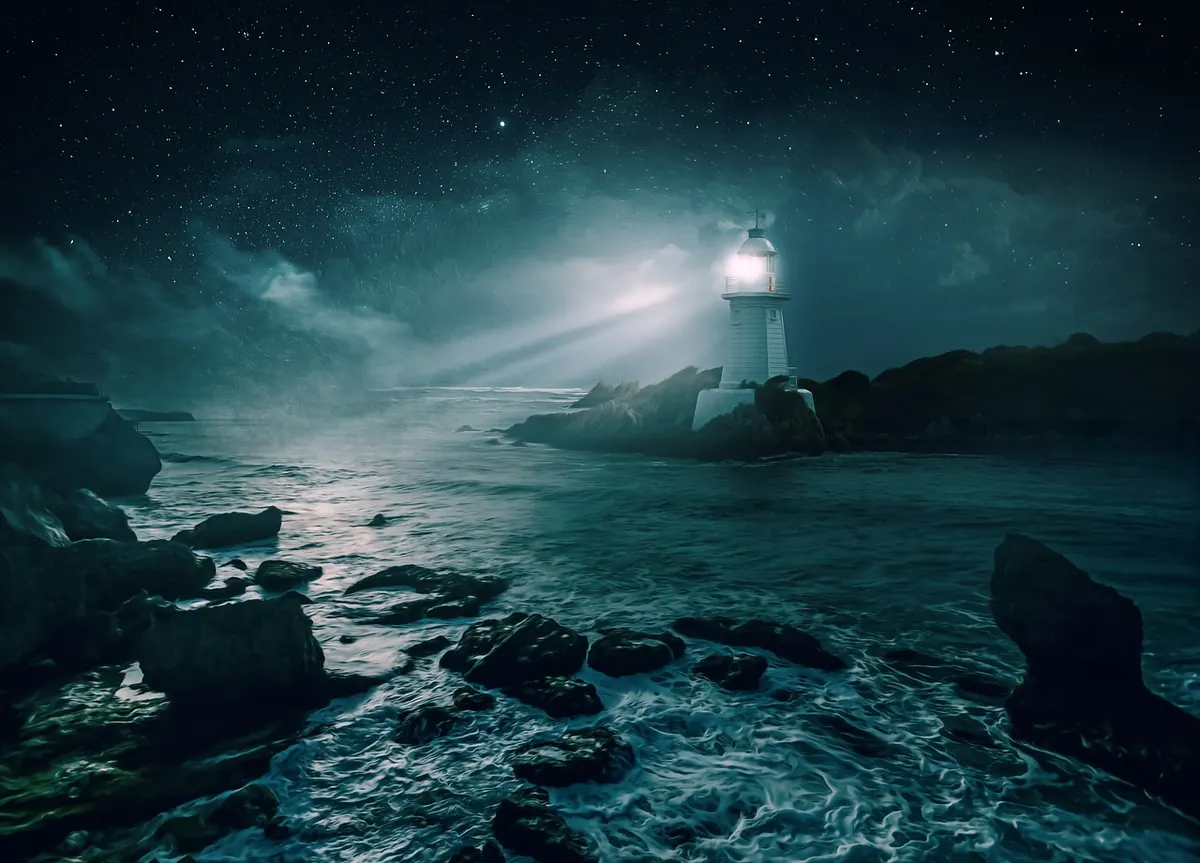
Moonlight is directional. It comes from one place in the sky, so it casts shadows that reveal form. When the moon is low, shadows stretch long and can lead the eye into the frame. When it is high, shadows shrink and the scene flattens. Use that. Place a strong foreground—a rock, a tree, a fence—so the moonlight gives it edge and texture. Water is a gift. A calm lake or wet sand will mirror the moon and brighten the foreground. A long exposure will smooth ripples into a metallic sheen.
If you include the moon itself, consider a telephoto lens to make it larger against a ridge or building. But for a landscape, a wide lens often works better. Look for silhouettes. Trees, arches, and rock formations against a moon
Photo: darksouls1 / Pixabay
Sidereal vs Synodic Month: Why Lunar Calendars Drift
The Moon returns to the same stars every 27.32 days, but its phases take 29.53 days. That 2.2-day gap...
Crescent Sighting Checklist for Ramadan and Eid
A step-by-step guide to preparing for a first crescent sighting: judging the geometry, scouting your...